Front Load Washer
Removing a Stuck Rotor
Click on the Steps below to jump directly to that section:
**NOTICE**
Wiring Colors, Connectors, and Pins will vary by model/product code. Always be sure to download and use the service manual for your specific model.
For Test Mode procedures use this link and input your specific model: https://lgtestmodes.com/
Locate the Small hole next to the rotors indexing tabs.
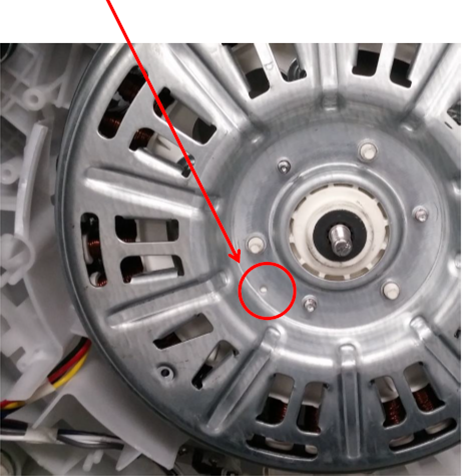
Make the hole larger by drilling, using a 7/16” bit.
Note: It may be necessary to start with a smaller bit and work up to the larger size. Size of the hole does not need to be exact, just be sure it is big enough for the jaw of the puller to fit inside.
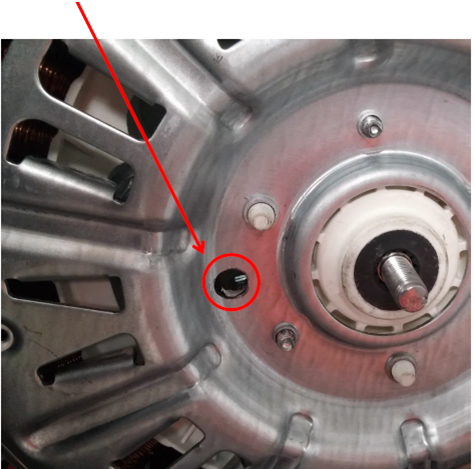
Drill a second 7/16’’ hole opposite of the first drilled hole.

Note: Use a center punch to keep the bit from drifting off while drilling hole. Use a smaller bit at first then work up to the proper size. Size of the hole does not need to be exact, just be sure it is big enough for the jaw of the puller to fit inside.
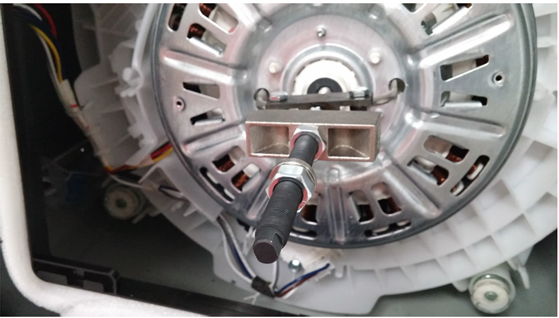
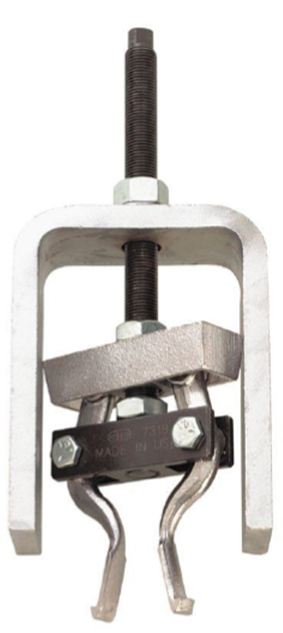
Pilot bearing Puller (Grainger PN:48UV26).
Be sure that the jaws of the puller are flipped where the hooks are to the inside of the puller.
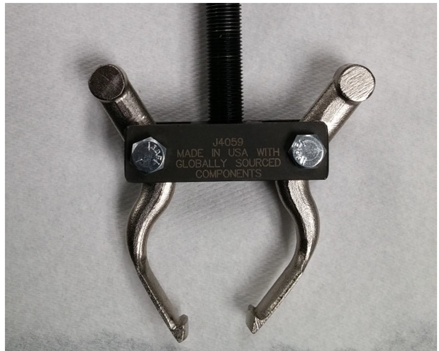
Flip the Jaw holder on the puller so that the flat side is against the jaw arms. Insert the jaws of the puller into the drilled holes. Tighten the nut holding the jaw holder in place. This will prevent any movement of the puller once pressure is applied.
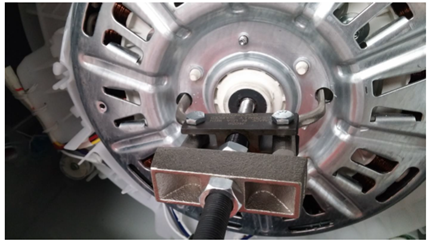
Using an adjustable wrench. Tighten the center threaded rod onto the shaft. Continue the tightening of the rod till the rotor pulls free.