Top Load Washer
Removing a Stuck Pulsator
Click on the Steps below to jump directly to that section:
**NOTICE**
Wiring Colors, Connectors, and Pins will vary by model/product code. Always be sure to download and use the service manual for your specific model.
For Test Mode procedures use this link and input your specific model: https://lgtestmodes.com/
Step 1
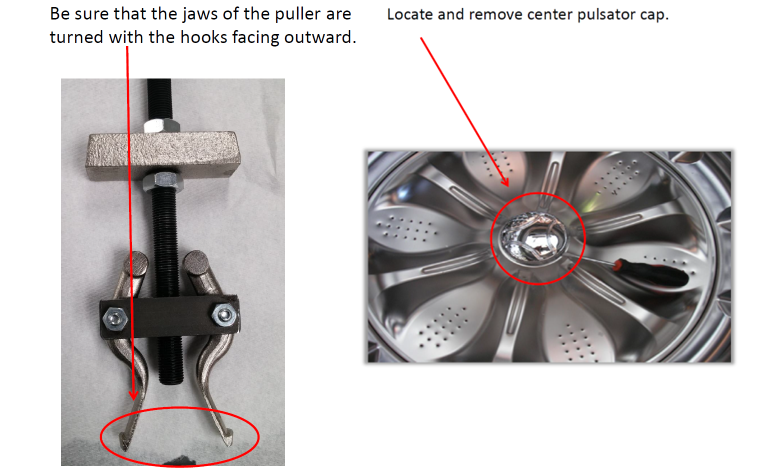
Piulling Stuck Pulsator with Pilot bearing Puller (Grainger PN:48UV26).

Step 2
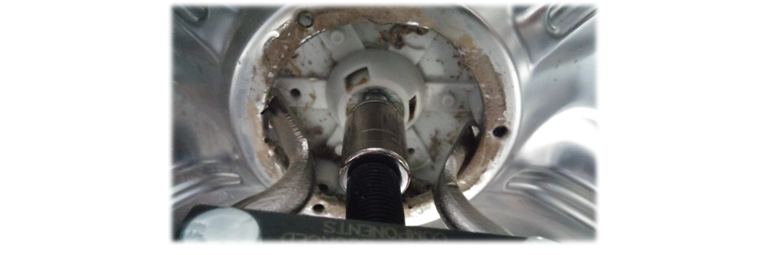
In some cases a Pulsator can become stuck and cannot be removed without the assistance of a puller.
Step 3
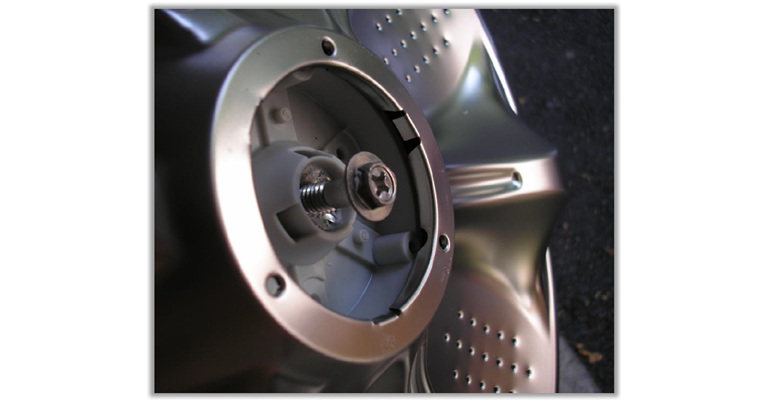
Loosen but do not remove the 10mm screw of the Pulsator.
Step 4
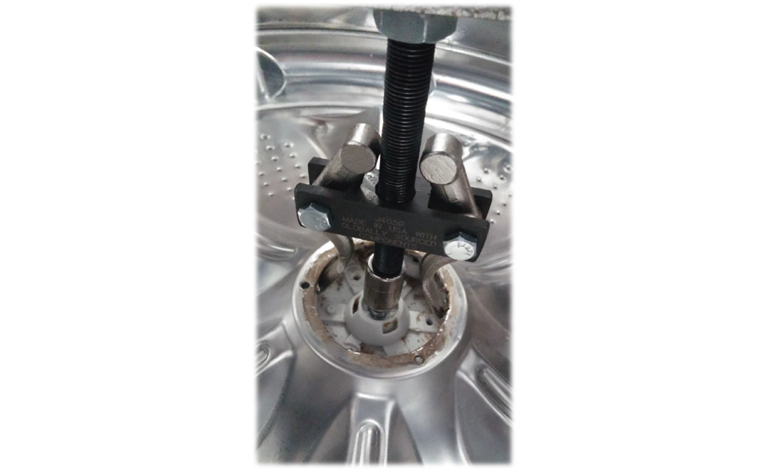
Place the jaws puller into the opening of the Pulsator. Use a 10mm socket placed on top of the screw to press against.
Step 5
Tighten the puller bolt until the Pulsator pulls free..