Front Load Washer
Leaking
Quick Overview:
Step 1: Visually check for leaks. You may uses test mode to verify the unit is actually leaking
Step 2: Check mushroom valve & Check for too much detergent usage
Step 3: Check dispenser for clean
Step 4: Check gasket for damage or hair
Step 5: Check pump filter and drain tube
Step 6: Check valve assembly
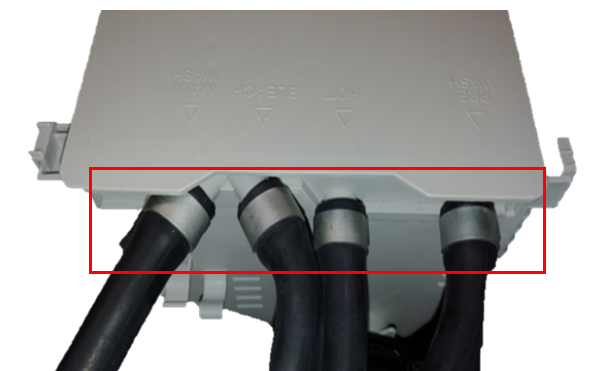
Step 7: Check pump hoses
Step 8: Check pressure sensor tube
Step 9: Check outer tub
Step 10: Check dispenser and dispenser tubing
**NOTICE**
Wiring Colors, Connectors, and Pins will vary by model/product code. Always be sure to download and use the service manual for your specific model.
For Test Mode procedures use this link and input your specific model: https://lgtestmodes.com/
First see if you can determine the point of leakage. A drip, or a water trail. Here are some check points and solutions.
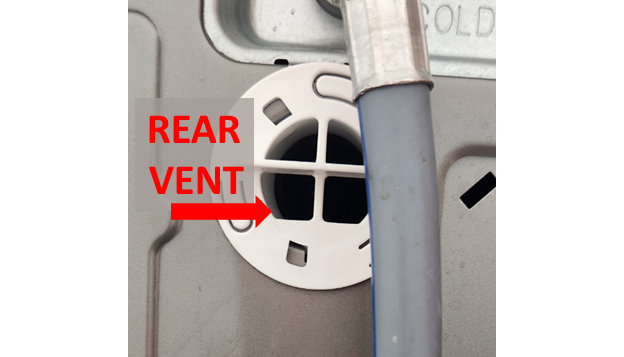
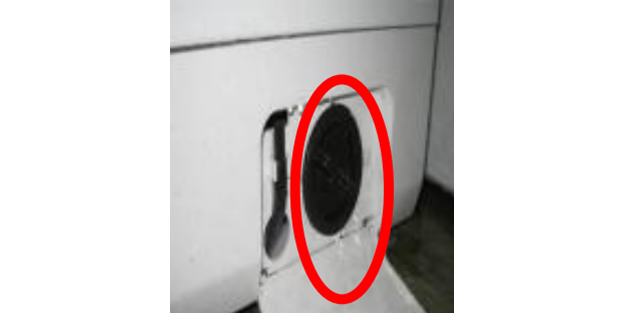
Is the unit over-sudsing? Too much detergent will cause the unit to leak. Check the amount of usage with the customer. If using individual detergent pods use only one per load, and place directly in the tub with garments. For liquid detergent pour into the correct dispenser tray. Use a maximum of two tablespoons of liquid HE detergent. You may see evidence of a leak at the vent grill in the rear of the unit.
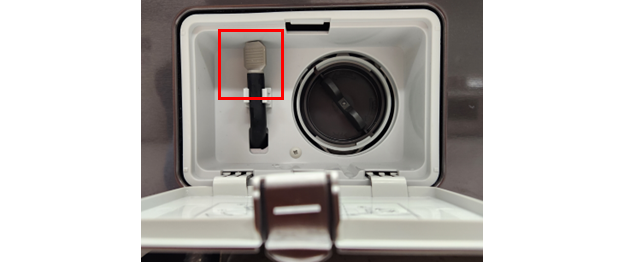
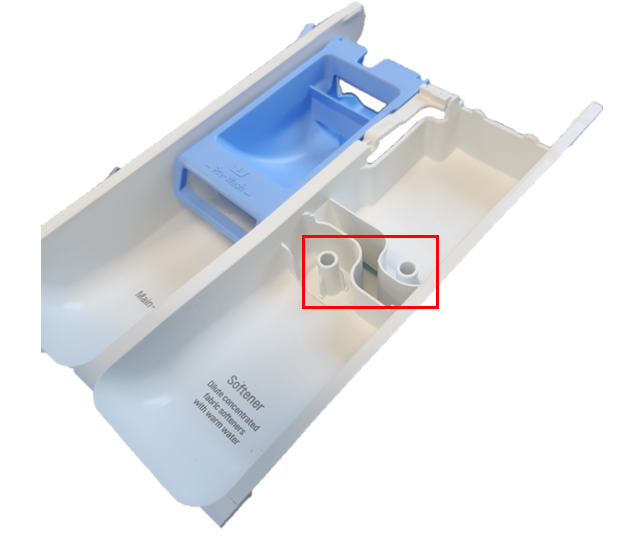
Check the mushroom valve to make sure it isn’t sticking, also check the hole it slides into, make sure its free of debris or damage.

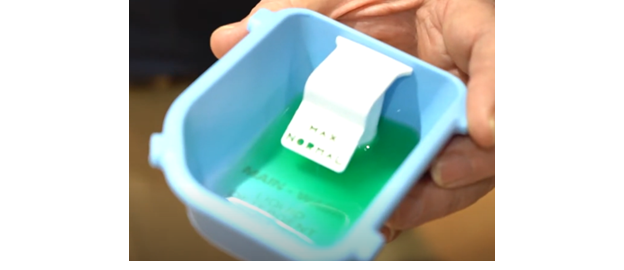
Check for over usage of detergent. Example of Two Tablespoons of liquid HE detergent.
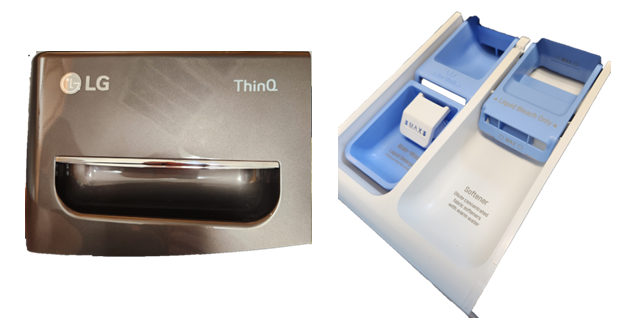
Check for dispenser clog. The dispenser may need to be cleaned.

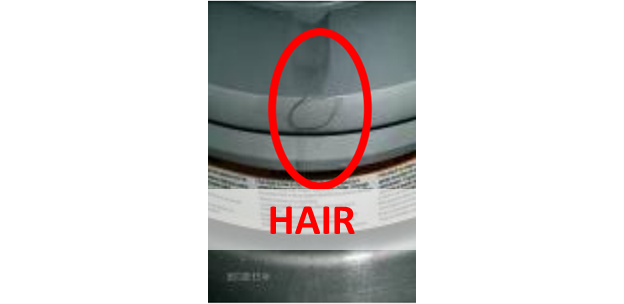
Check the door gasket for damage.

Inspect the door gasket for foreign debris such as pet hair etc.
Check the pump filter for clogged and clean the filter.
Make sure the manual drain tube plug is installed.
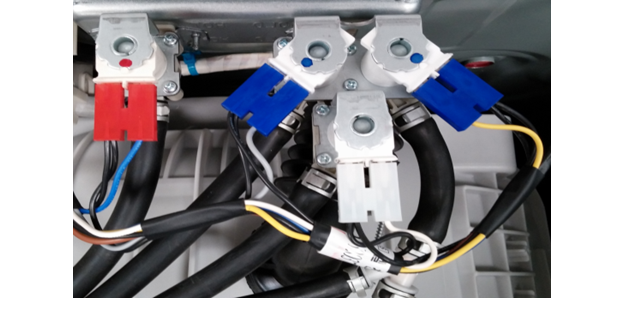
Check the valve assemblies and hose connections. Sometimes, if no evidence of leak is visible, it may be necessary to use something like a paper towels and lay them in the water valve assembly, run the unit and then check for wet areas.
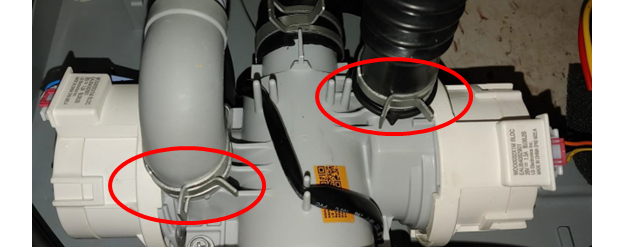
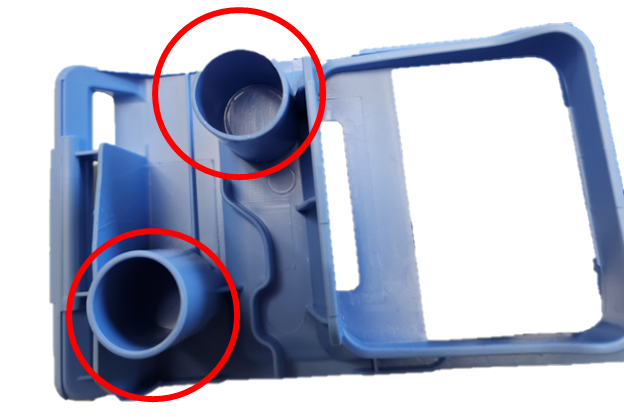
Another area to check is the drain hose and wash pump hose.
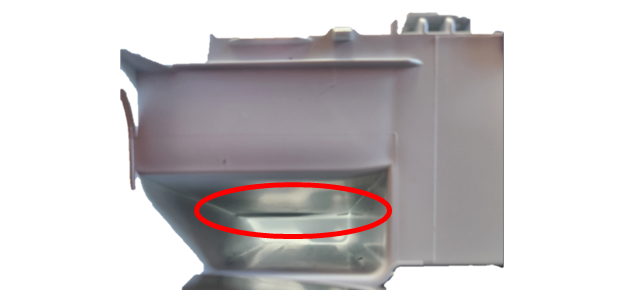
Check the pressure switch hose area at bottom of the tub.

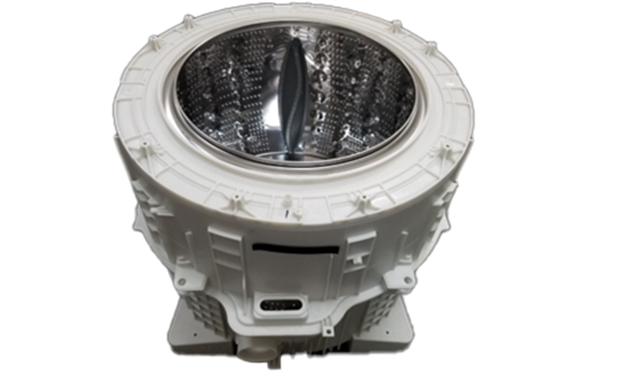
Check the outer tub also. Older models have a split tub, front half and back half and an O-ring gasket in the middle. If you open the tub, you must replace O-ring gasket, or the tub will leak.
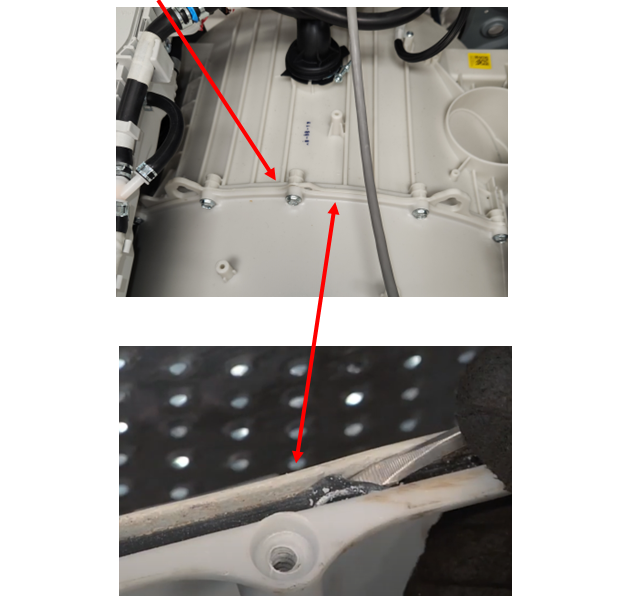
Some of the newer units have a complete assembly and the tub halves are glued, if these leak replace the tub assembly.
Check for leaking from the dispenser. Most leaks from the dispenser are going to come from a dirty dispenser housing.
Remove the dispenser assembly and clean with a
soft brush and warm water. Make sure the siphon tubes under the cups are clean.
Check the hoses and hose clamps making sure they are secure. Place the unit in test mode and activate the valves one by one and inspect the hoses and fittings.