


Click on the Steps below to jump directly to that section:
**NOTICE**
Wiring Colors, Connectors, and Pins will vary by model/product code. Always be sure to download and use the service manual for your specific model.
For Test Mode procedures use this link and input your specific model: https://lgtestmodes.com/
Look for a visual leak, or water trail from past leakage.
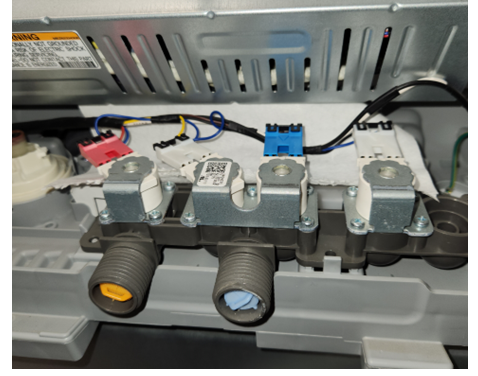
The supply line hoses can become old and the washers inside them can quit sealing, look for issues at the valve connections and the valves themselves.
The supply line hoses at the washer connection can also have issues with the washers that seal to the inlet valves. Make sure the drain hose is installed properly in the standoff pipe.
Place the unit in test mode.
Check the water valves for leakage. Place the unit in test mode and activate each individual water valve. It also may be necessary to use something like a paper towel to locate leaks. Place it underneath the water valves or any other place suspected of leaking and run the test mode.
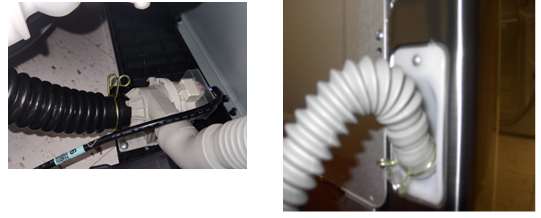
Check the hoses at the drain pump.
Coming from the outer tub to the drain pump, (make sure this hose isn’t rubbing against the stator/rotor), and then the discharge line to the rear of the unit. Anytime the drain hoses are removed, or replaced, they need to be glued with adhesive, or they will leak. A product like Permatex 80050 is recommended.
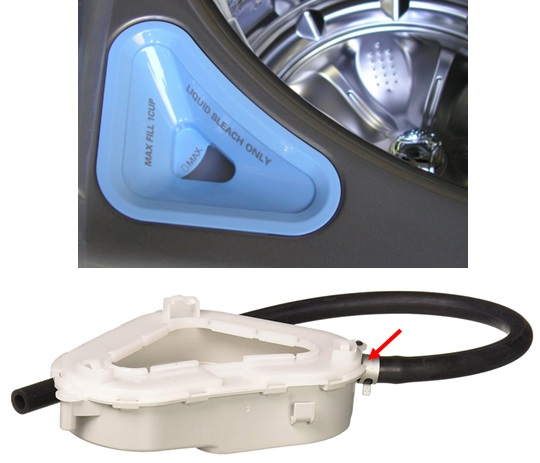
Check the Bleach dispenser if its an older model that works off a siphon principle. It will have a hose that supplies water and can be a point of leakage.
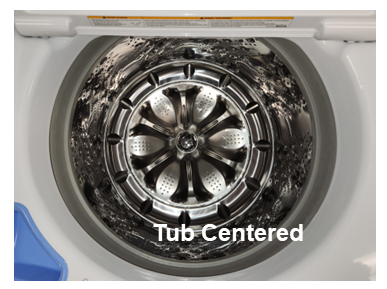
Center the tub and level the unit.
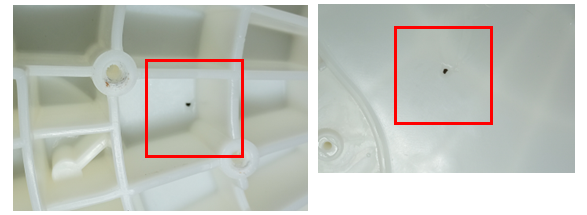
Check the outer tub for leakage. Below is an example of a very small hole in an outer tub.
This is NOT a replaceable part.