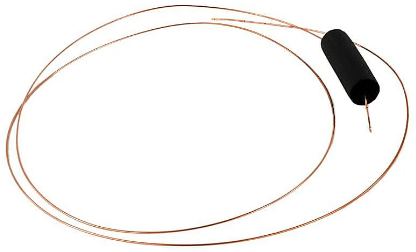

In the event the capillary tube is broken or restricted and cannot be repaired, a replacement capillary tube is available.
This replacement capillary tube can be used on single and dual evaporator units.
Capillary Tube Part# MGE63775901
How to Install
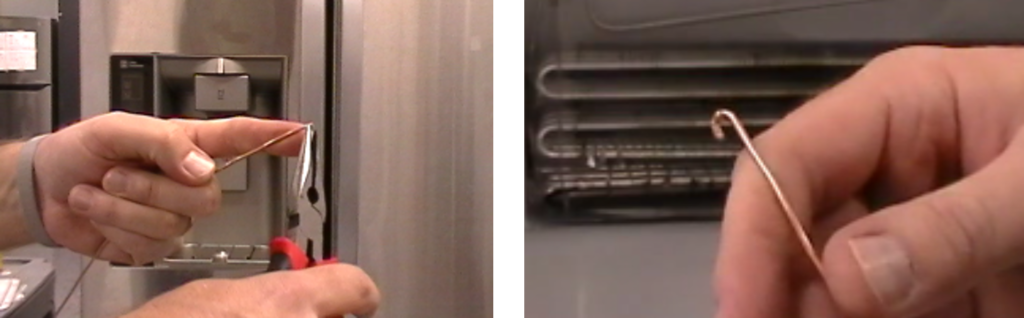
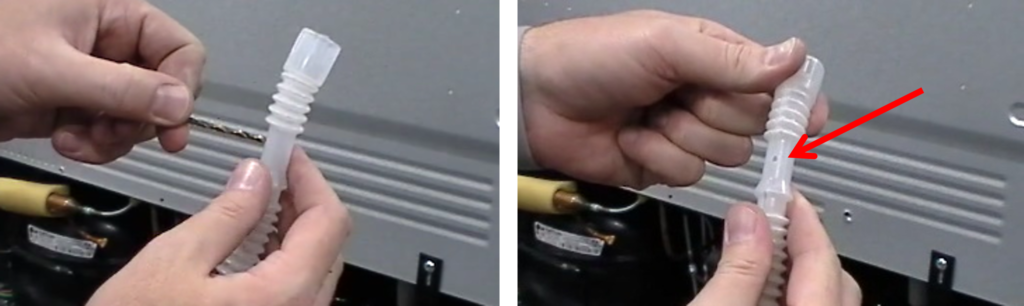
Step 1: Remove cap tube from the packaging, straighten out the cap tube, and bend a small hook at the end of the capillary tube. (The hook will allow the cap tube to push through the drain line easier).
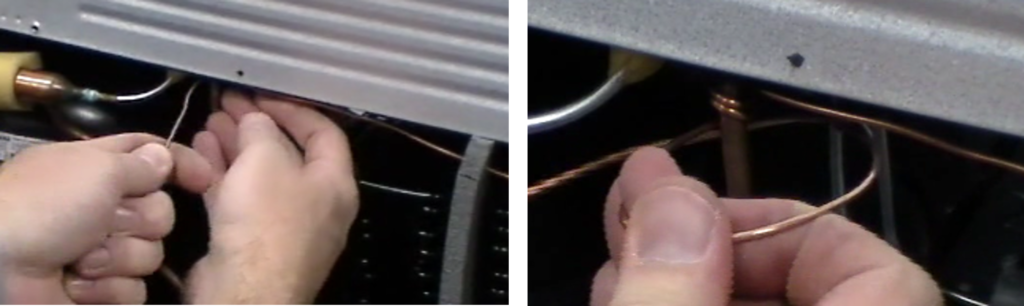
Step 2: Insert the cap tube into the drain hole below the evap coil. *Note: Sometimes it is easier to push the cap tube through the drain from the machine room up to the evap coil. You may have to try both ways to see which is easiest for you. Drain tube routing can change with different models.
Step 3: Pull the capillary tube through the drain line in the machine room. Leave enough cap tube in the freezer section so that you can connect into the evaporator.
Step 4: Remove the original capillary tube from the evaporator and connect the new capillary tube using Lokring or your torch.
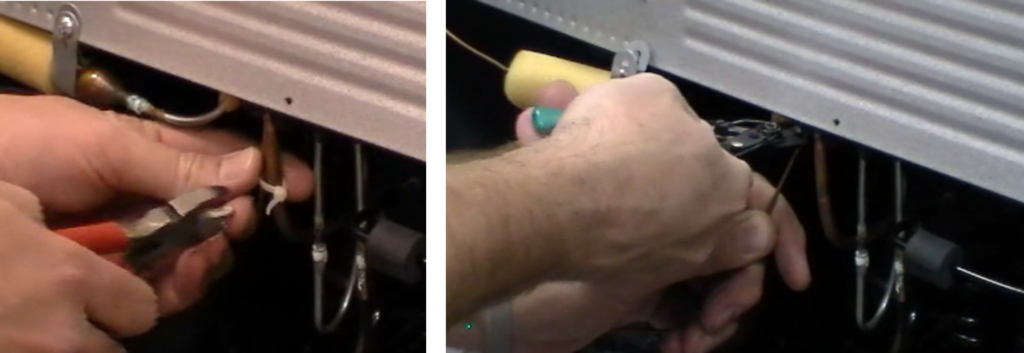
Step 5: In the machine room cut the zip tie that holds the original cap tube to the suction line and cut the original cap tube as close to the cabinet as possible.
Step 6: Use a small drill bit to make a hole in the drain tube big enough that the cap tube can be pushed through the drain tube.
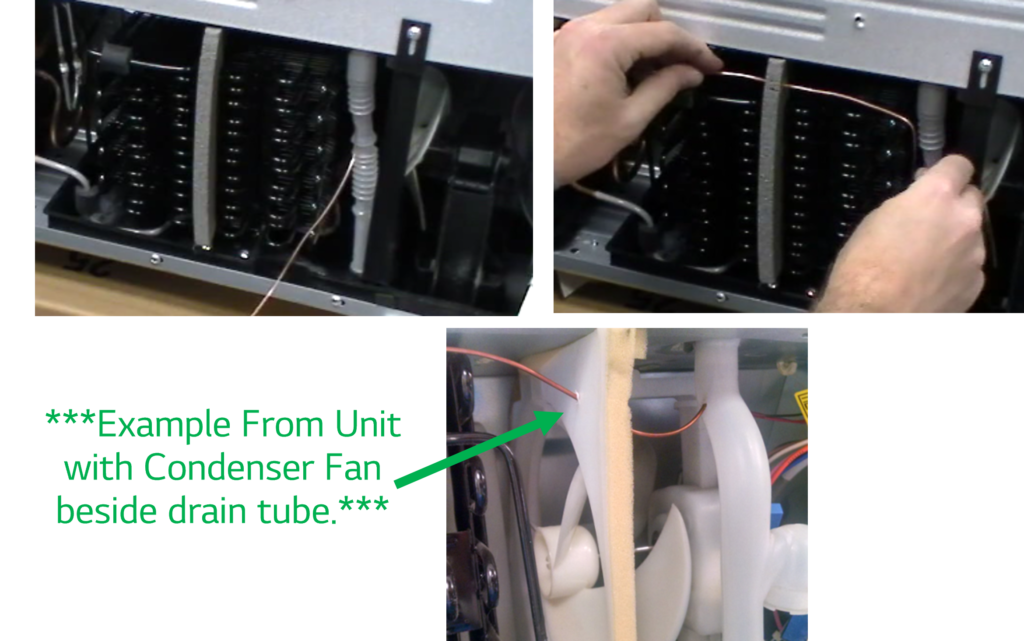
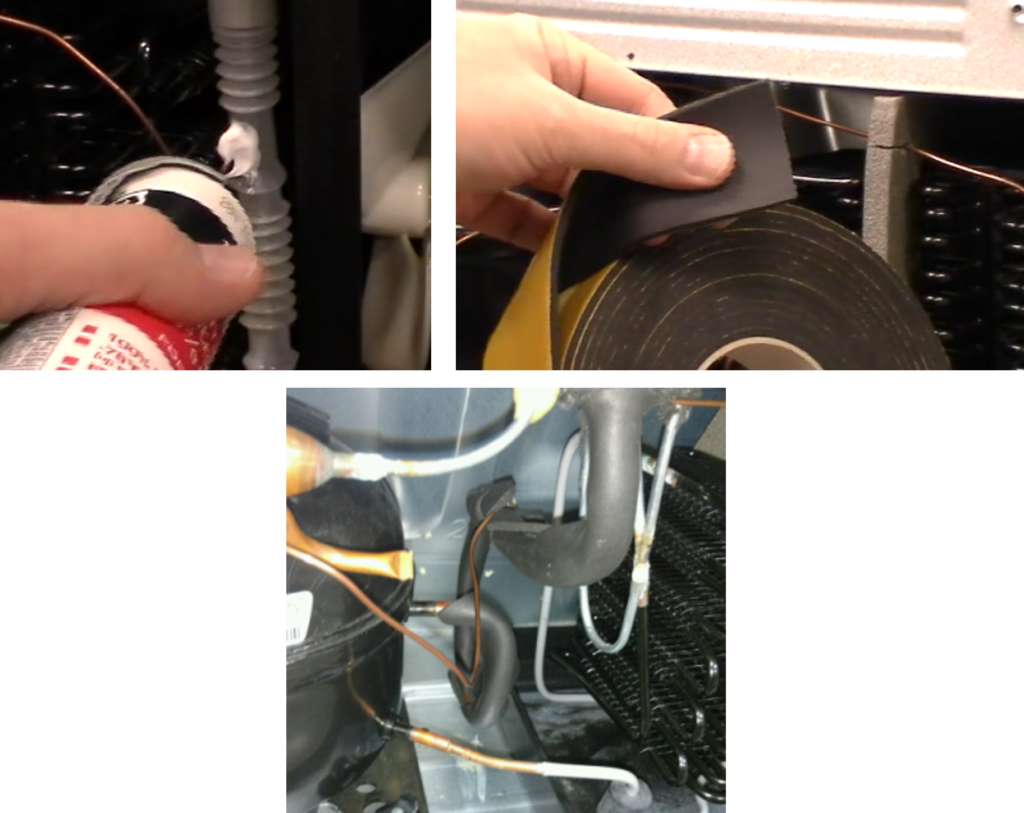
Step 7: Feed the cap tube through the hole you just made in the drain tube and re-install the drain tube into it’s original position. *Note: to hold the cap tube in place it can be routed through the condenser foam or condenser fan shroud depending on the model you are repairing.
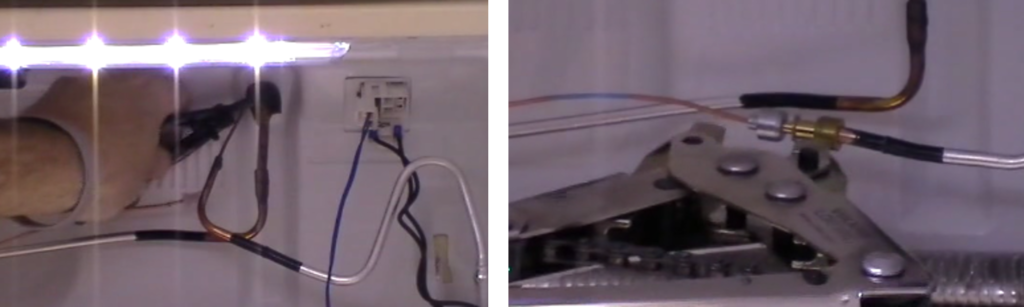
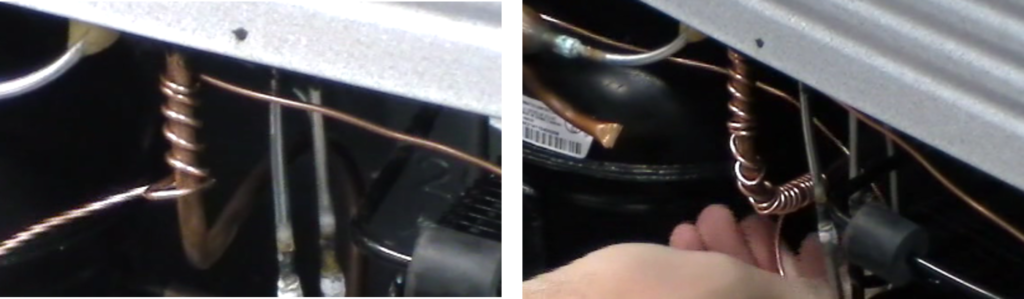
Step 8: You will now need to wind the capillary tube around the suction line to create heat exchange. The loops need to be as close together as possible such as the pictures below. (It is also important that the first loop be as close to the cabinet at possible):
***Warning: Failure to begin the wrap as close to the cabinet as possible and as tight as possible could result in condensation and/or frost. This could lead to a water damage claim.
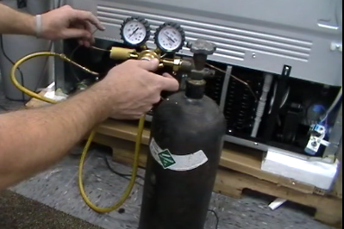
Step 9: Now that you have connected your new cap tube to the evaporator and wrapped your suction line, pressurize the system with nitrogen to make sure you have good flow before installing the cap tube into your new drier.
Step 10: Place silicone on the hole you made in the drain tube to prevent the possibility of water dripping on the floor and cover the suction line from the cabinet to the compressor with insulation.
Now that the new capillary tube has been routed through the drain you are ready to finish the sealed system repair.
Use nitrogen to leak check your joints after your connections have been made.
Pull a minimum 500 micron vacuum and make sure it holds below 1000 microns.
Remember if the micron gauge shows a rise above 1000 microns when you isolate your pump you still have moisture in the system. A rise above 2000 microns indicates a leak.
Once your vacuum holds below 1000 microns you are ready to charge the system to the amount of refrigerant that is printed on the model/serial tag inside the refrigerator.