Sealed System Repair Process
Before beginning any sealed system work on a Dual Evaporator unit make sure the 3 Way Valve is Centered:
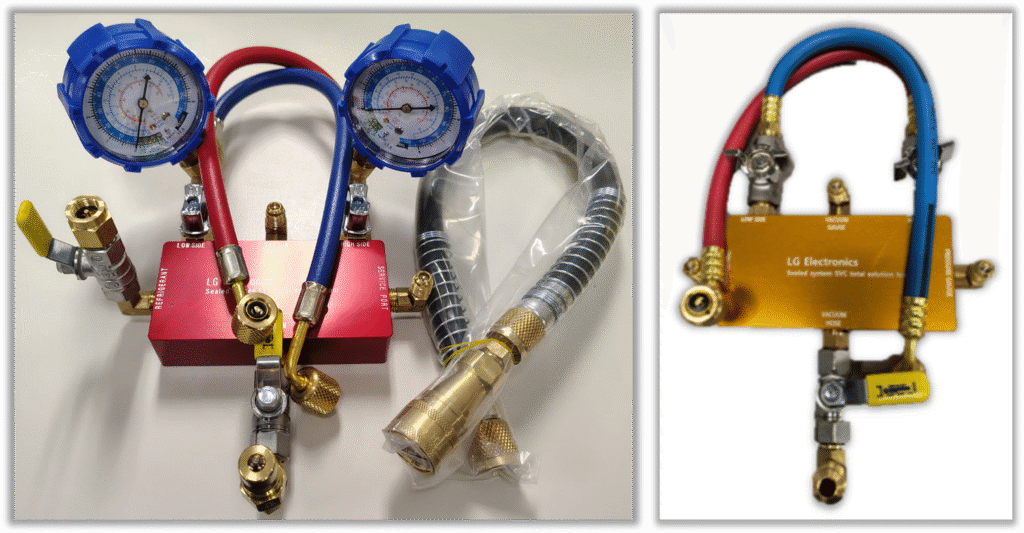
Next, Make sure you have recovered all the refrigerant from the system:
1) Once refrigerant has been recovered, remove the defective parts that are being replaced.
2) Check system for contamination. (Inspect Drier Contents)
3) Flush and clean internal tubing.
4) Install new sealed system parts.
Now that you have installed the new parts, Perform a Leak Test:
Next Step is to pull a proper vacuum on the system to make sure it is free from all air and moisture.
Final step is to recharge the system with refrigerant.
Does the unit require a Software Update for the Compressor?
Double check and make sure….
* Compressor is plugged in and operating.
* All fans are plugged in and operating.
* 3-Way Valve is plugged in and operating.
* Sensors, heaters, or any other electrical parts that might have been unplugged are plugged in and working.
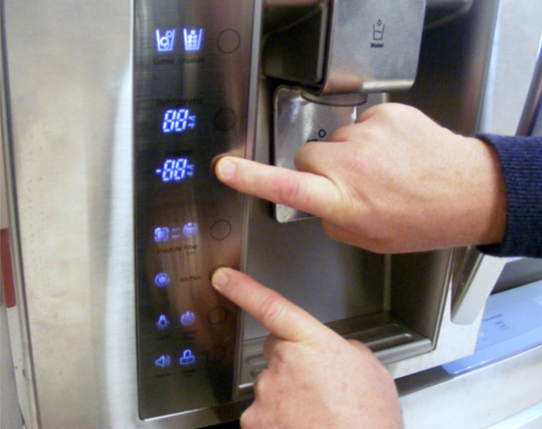
* Check for hidden error codes on the display after the unit has been plugged in for a few minutes. The most common way to do this is to hold (Freezer & Ice Plus) buttons for 3 seconds. If there are no error codes “88 88” will show on the display:
Part Number: CJT30006001

Part Number: CJT30005801
this was very interesting especially when he is teaching you how the lockring uses, it was very good knowledge Thanks guys.
very interesting
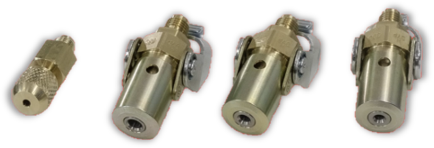
Do you have part numbers or a source for the Sealed System Quick Connect Couplers?
Thank you.
Scott, I do not know that these couplers are for sale. These were tools that were issued to our Internal LG Technicians.
How can we get a LG GOLD Jig tool?
Do we need a P# ?
please advise
Currently it is only available for LG Technicians and available for sale to the public.
I NEED THE PART NUMBER FOR THE LOCKRING KIT TO CHANGE OUT A COMPRESSOR, DRIER, AND CONDENSOR
The common part# for the installation kit is AAZ76432016. That comes with the drier, lokrings, sound dampening pad, etc.
What is the part number for the Vulcan electric hand tool.
LG does not sell this tool, you would need to source it from a supplier.
Thanks
How would you recommend handling a restriction? Do we replace the capillary tube and a 3-way valve? Should we flush the system after that?
How you handle a restriction depends on where it occurs in the system.
You can visit lgrepair.com for troubleshooting tips to help narrow down the symptoms.
If there is debris in the capillary tube, it must have traveled there from elsewhere in the system. In such cases, backflushing is recommended to remove any contaminants and prevent future blockages.
I have a failed linear compressor on a LFX25973D. I have performed all the tests. Compressor runs but no change in coolant pressure on either side. The compressor should still be under warranty. How can I get a replacement compressor? Thank you!
If you contact customer service at 1-800-243-0000 they can direct you to the information you are needing.
Thanks